Creating a new project
Creating a new Bizagi project is the first step to get started automating your processes.
This project will run in a .NET platform.
Considerations
- Since every project requires a database. When using SQL Server, you can choose the authentication mode desired, using SQL credentials or Windows authentication. By default Bizagi uses SQL credentials. If you want to use Windows Authentication for your SQL Server instance, you can skip the following section and go to the procedure explained in Using Windows Authentication for SQL Server.
- Bizagi does not support creating projects in Web sites having the HTTPS protocol enabled. Nevertheless, after the creation of a project, the protocol can be enabled and this does not affect the runtime or upgrading the project.
Creating the project
Follow these steps:
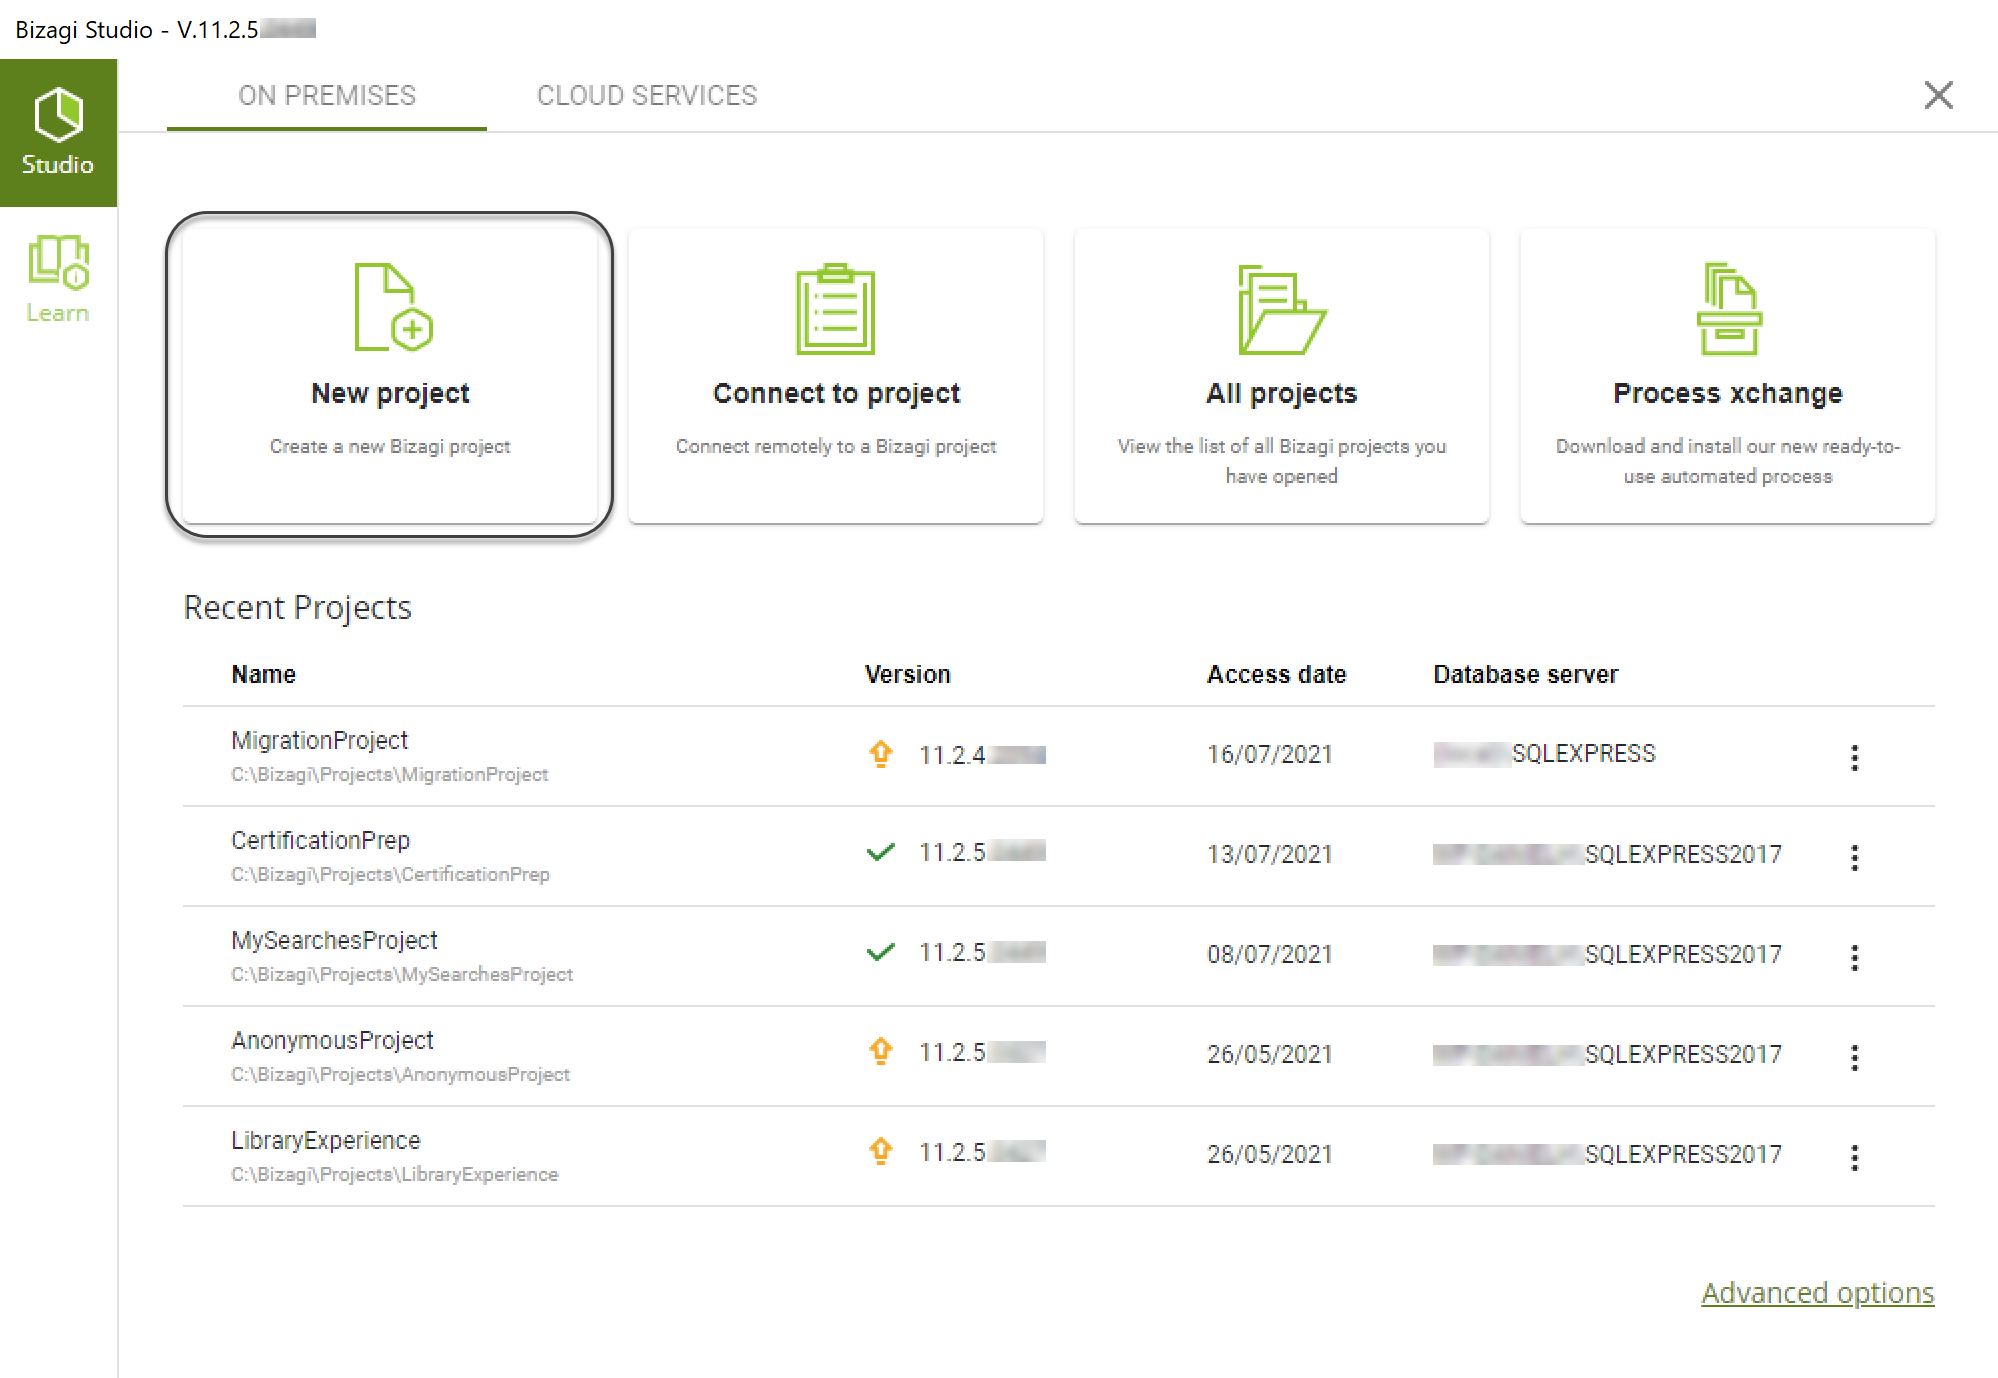
1. Use the New project option in Bizagi
You may click directly in the New shortcut, right when Bizagi Studio is opened:
Note:
Keep in mind that in order to create a project, your account needs to belong to both the local Bizagi and the Administrators group (where Bizagi Studio is installed).
In order to check if your user is added to both groups, follow these steps:
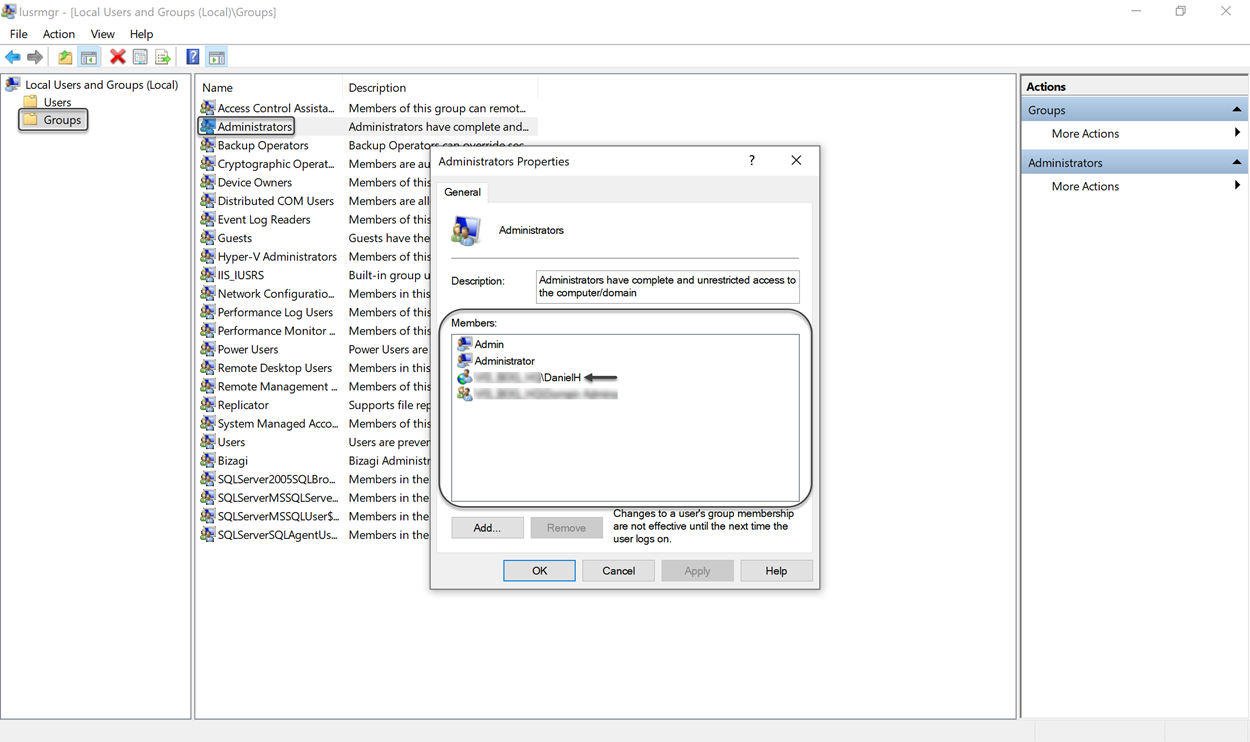
- Open the Edit Local Users and Groups utility on Windows.
- Click on the Groups option.
- Find the Administrators Group and make sure your user is included. If it is not, add it by clicking the Add option and entering your user.
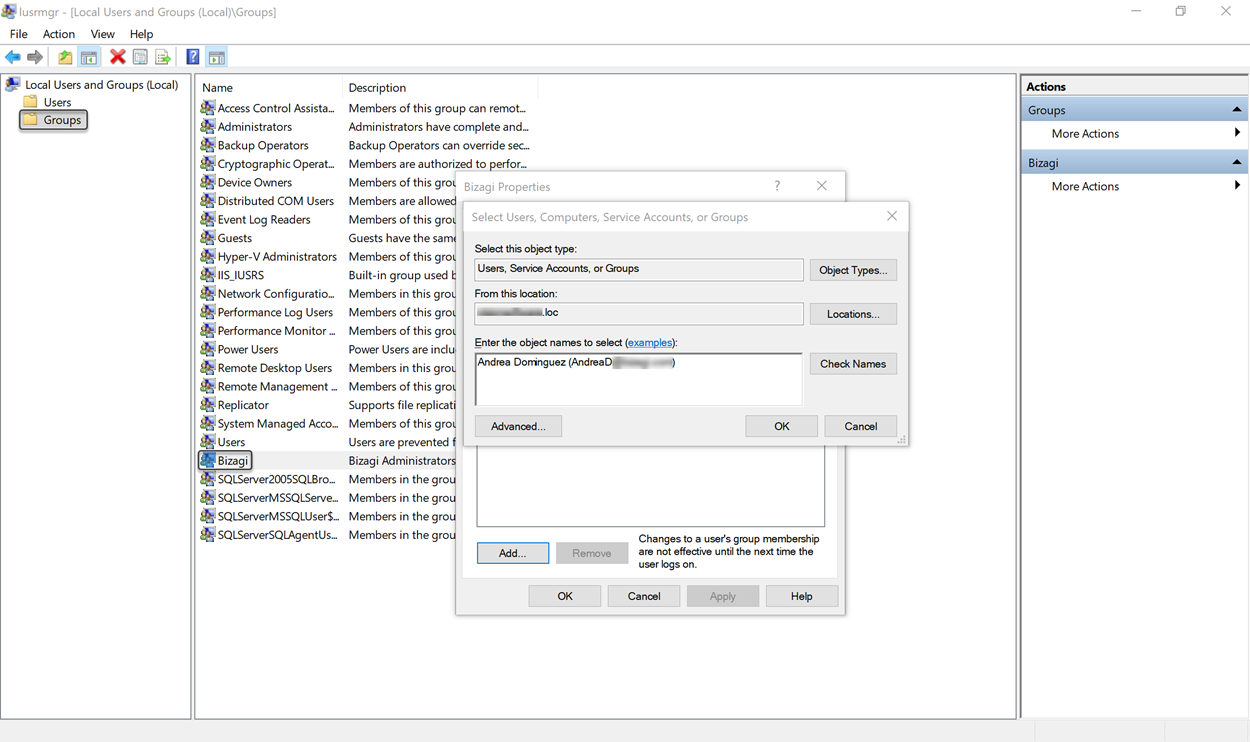
- Find the Bizagi Group and make sure that your user is included. If it is not, add it by clicking on the Add option and entering your user.
If your account does not have such rights, you will be prompted to enter authorized credentials:

2. Enter details of your project
Make sure you name your project and define its location.
Note:
The project cannot be named as a reserved word.
You may tick:
- The Advanced database configuration checkbox, to specify details for the database server used by this new project. Through this option you explicitly define where you want to create the database (should you have more than one available database server installed).
- The Advanced IIS configuration checkbox, to explicitly decide under which IIS web site you wish to create the Bizagi Work Portal.
This option requires that you have IIS already installed (not applicable for IIS Express).
For a quick start setup, you may disregard the Advanced configuration, and leave its checkbox unticked.
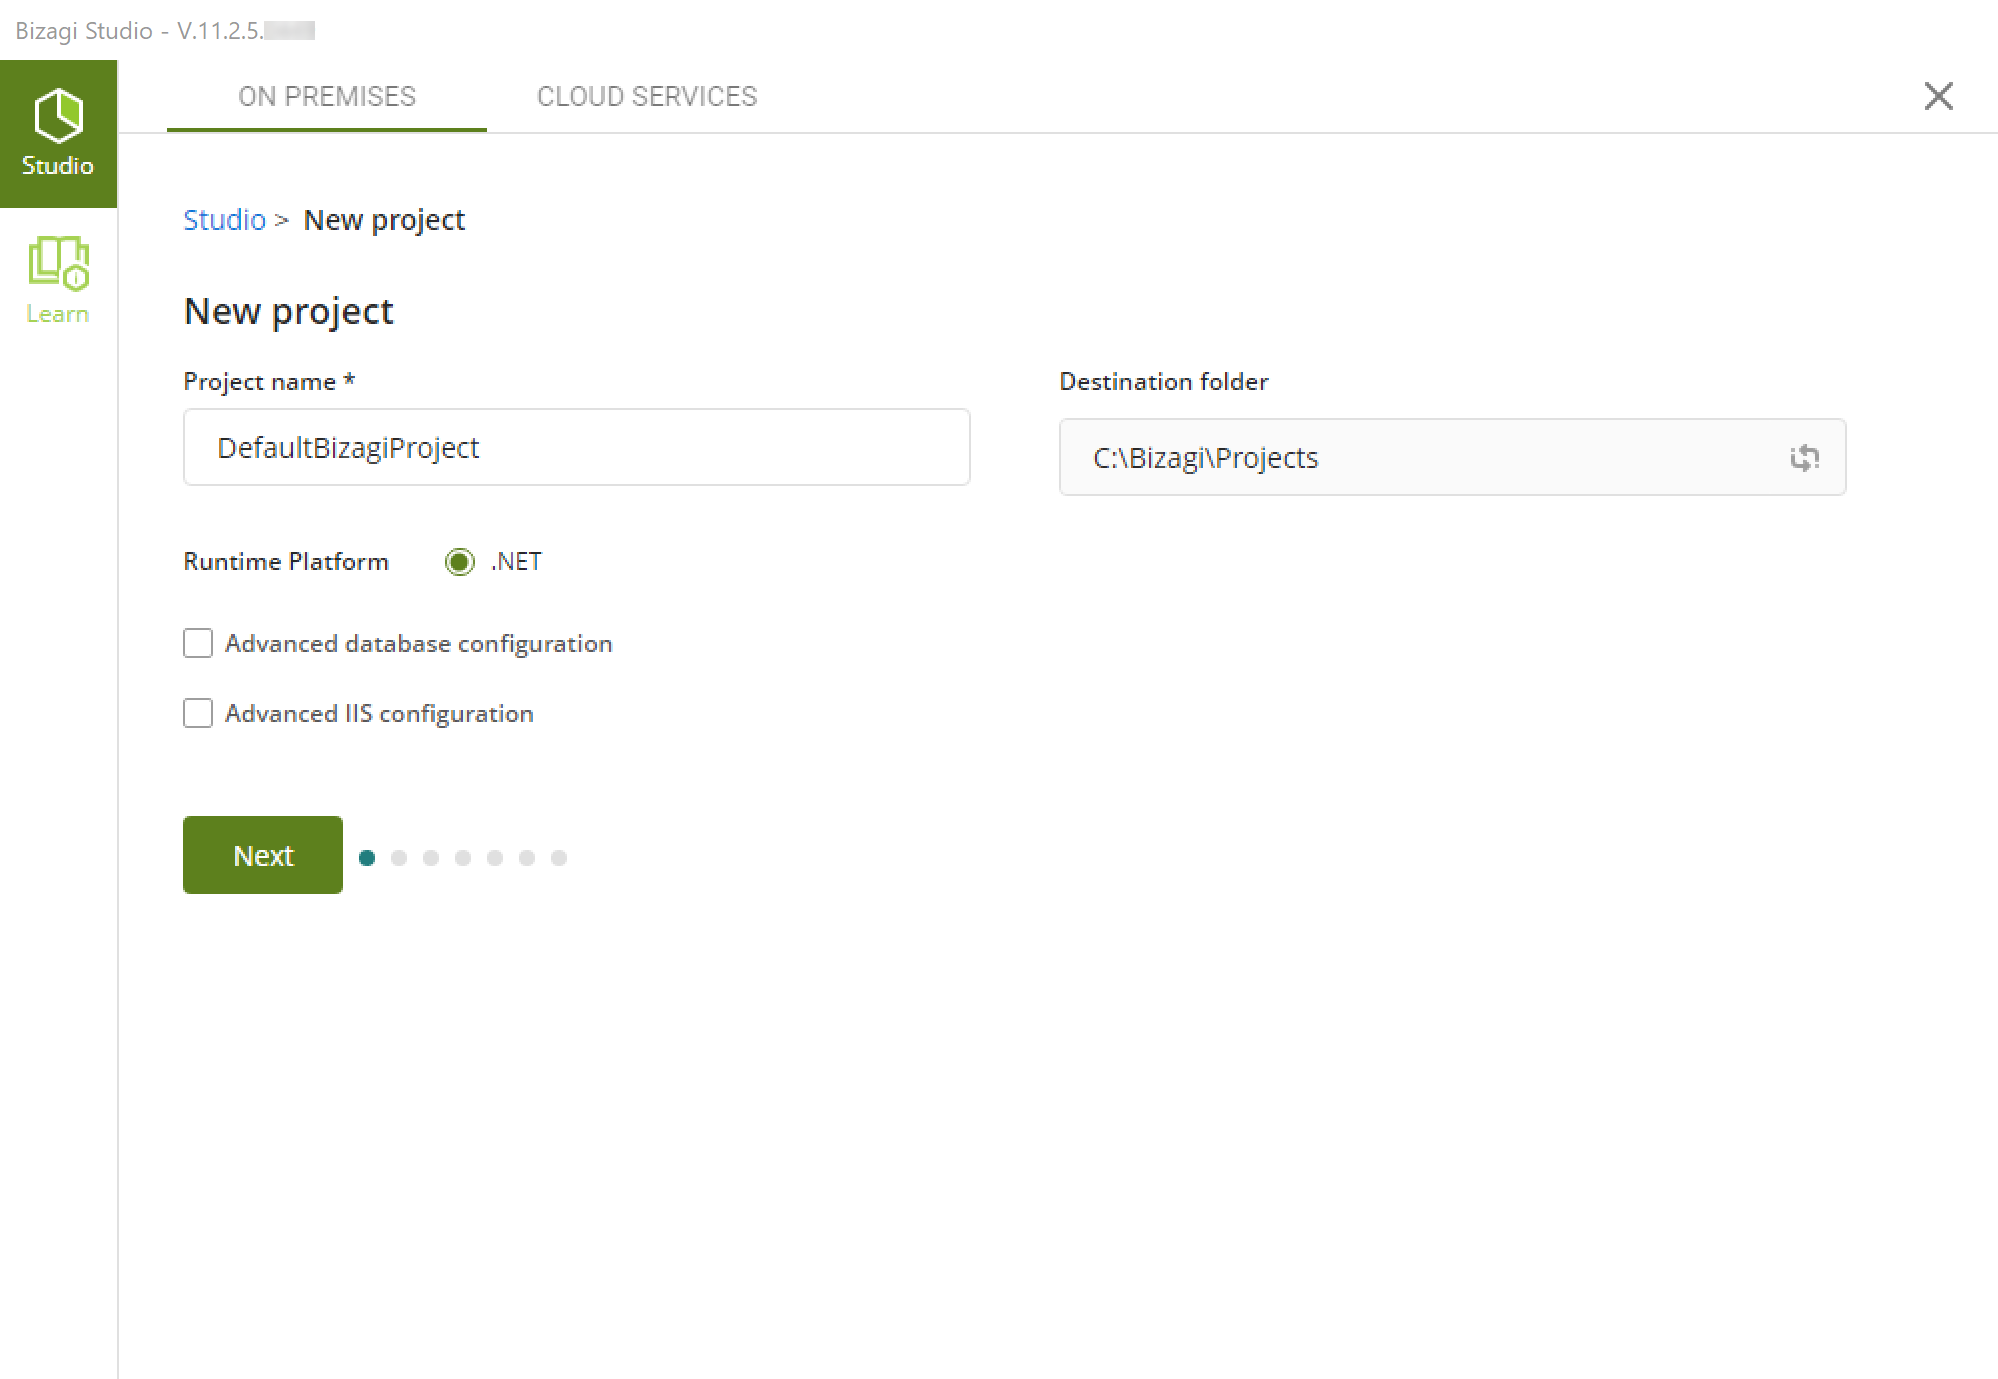
Click Next when done.
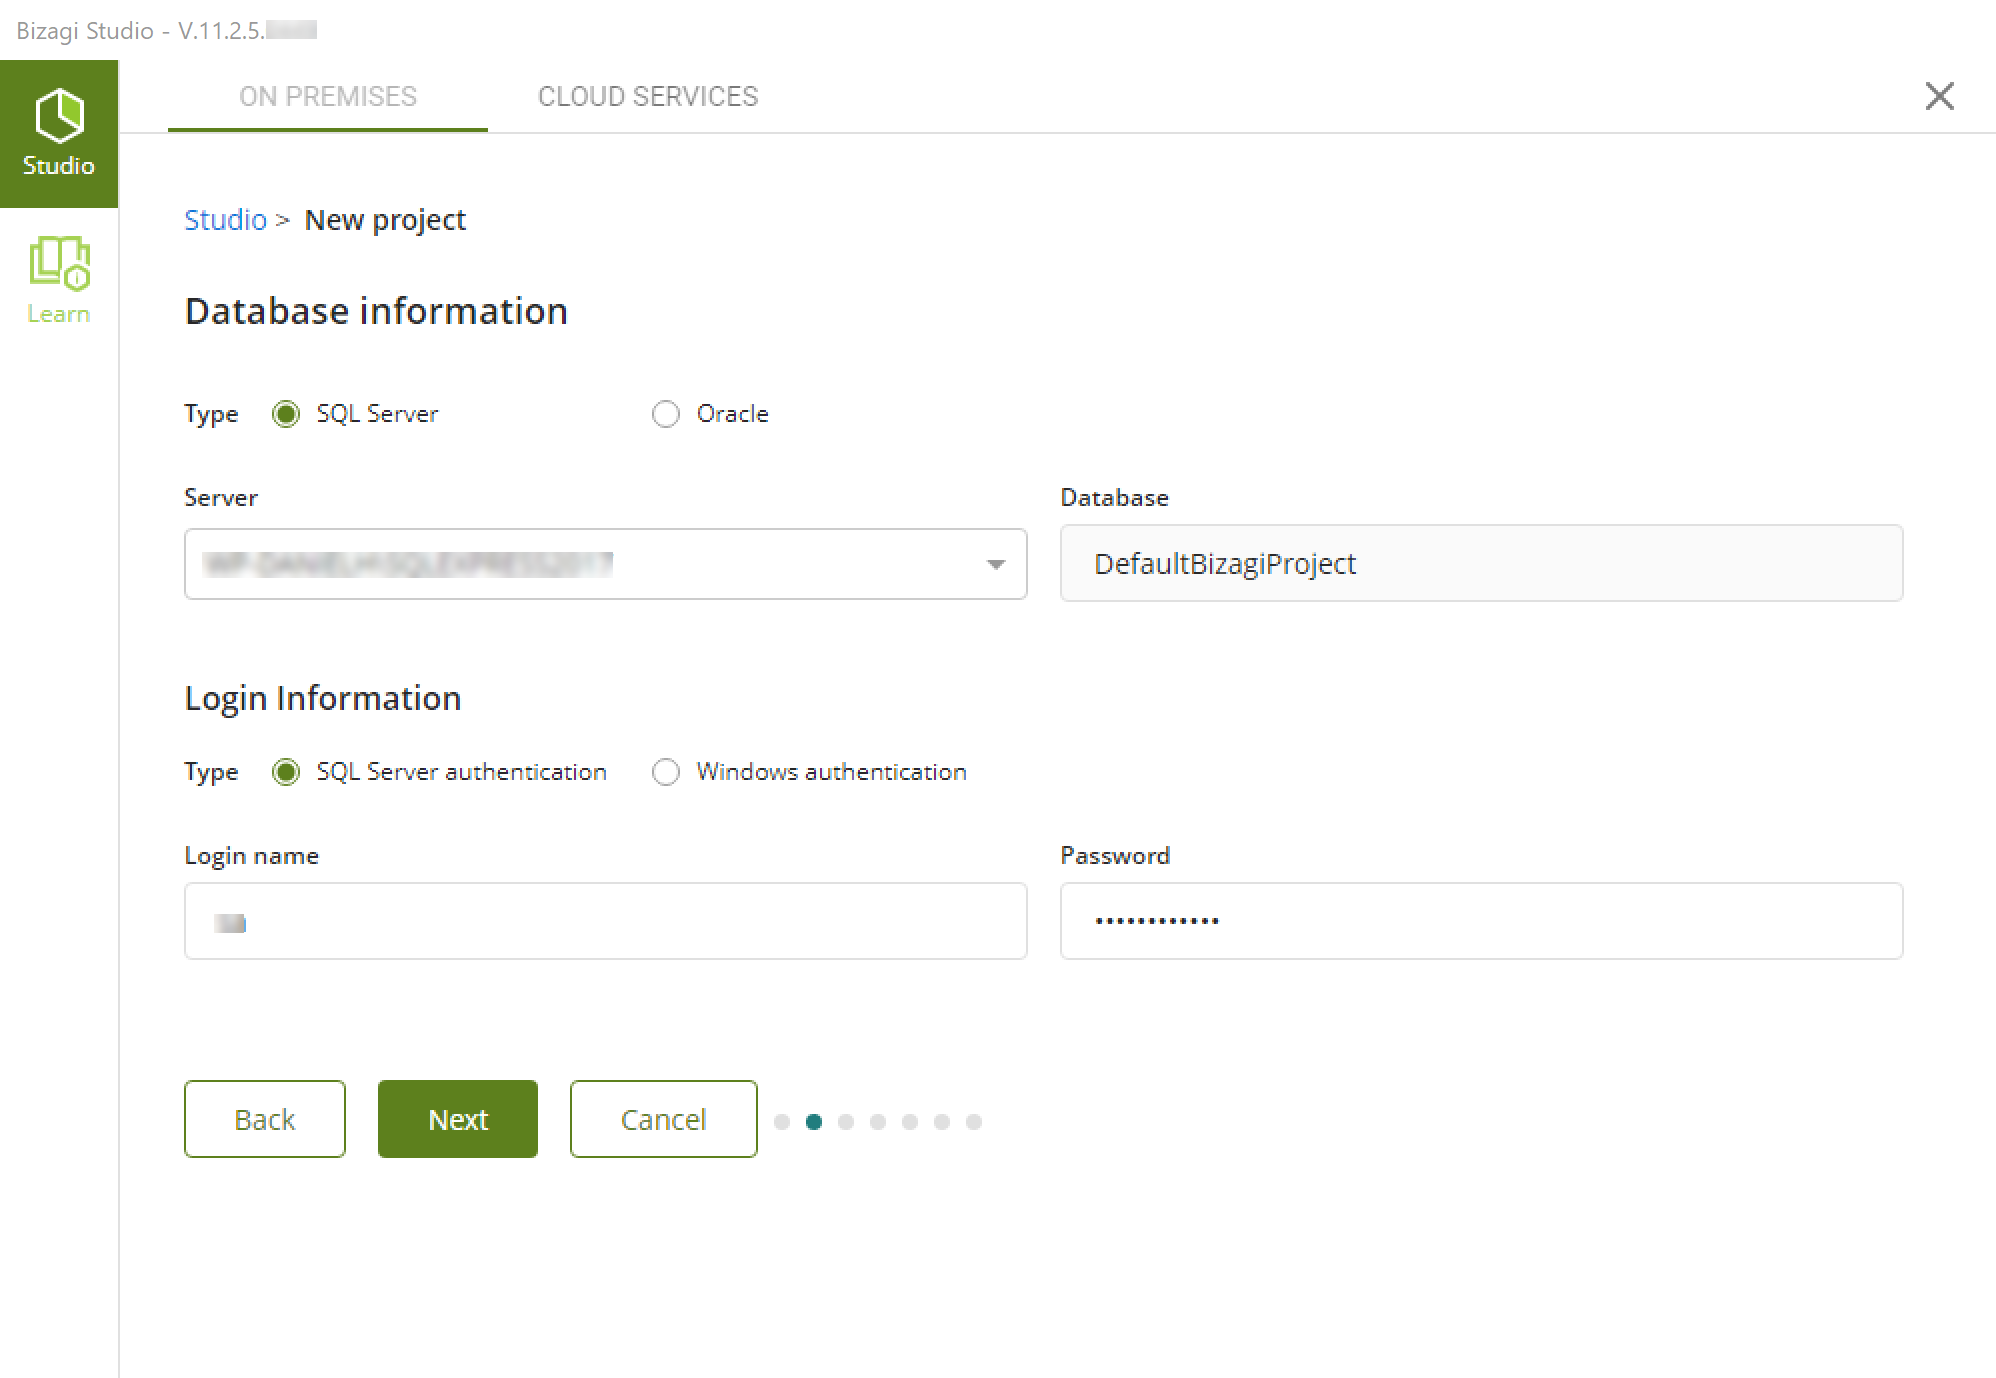
3. Enter the database server details
If you choose to activate the Advanced database configuration, make sure you specify where you want your processes repository to be.
Otherwise, this screen will not be shown, and Bizagi automatically chooses the default eligible database server.
Notice that the database can be stored on the local computer or a remote server.
You can use the SQL Server database that Bizagi Studio installs.
This database is detected automatically, so you would only need to input the default connection credentials which are:
- Login name: sa
- Password: BizagiBPM123
Note:
- If you use the SQL Server database that Bizagi Studio installs (or a local instance), make sure you have at least 300 MB of free disk space in your C:\ hard drive. Otherwise, when using a SQL Server database server (in a remote machine) make sure you have at least 300 MB of free disk space in that server.
- If you want to use Windows Authentication for your SQL Server instance, go to the procedure explained in Using Windows Authentication for SQL Server.
If you want to use a different SQL Server database, specify the following information:
- Server: the name of the Database Server containing the SQL Server instance.
- Database: the name of your project. Bizagi will create a database with this name.
- Login name: a login account to access the SQL Server instance.
- Password: the password for the specified Login name.
Click Next when done.
4. Define the target IIS web site
If you chose to activate the Advanced IIS configuration, make sure you select from the drop-down list, the IIS web site where you want Bizagi's Work Portal to be created.
Notice that Bizagi will automatically identify and fetch those IIS web sites you have in your local IIS:
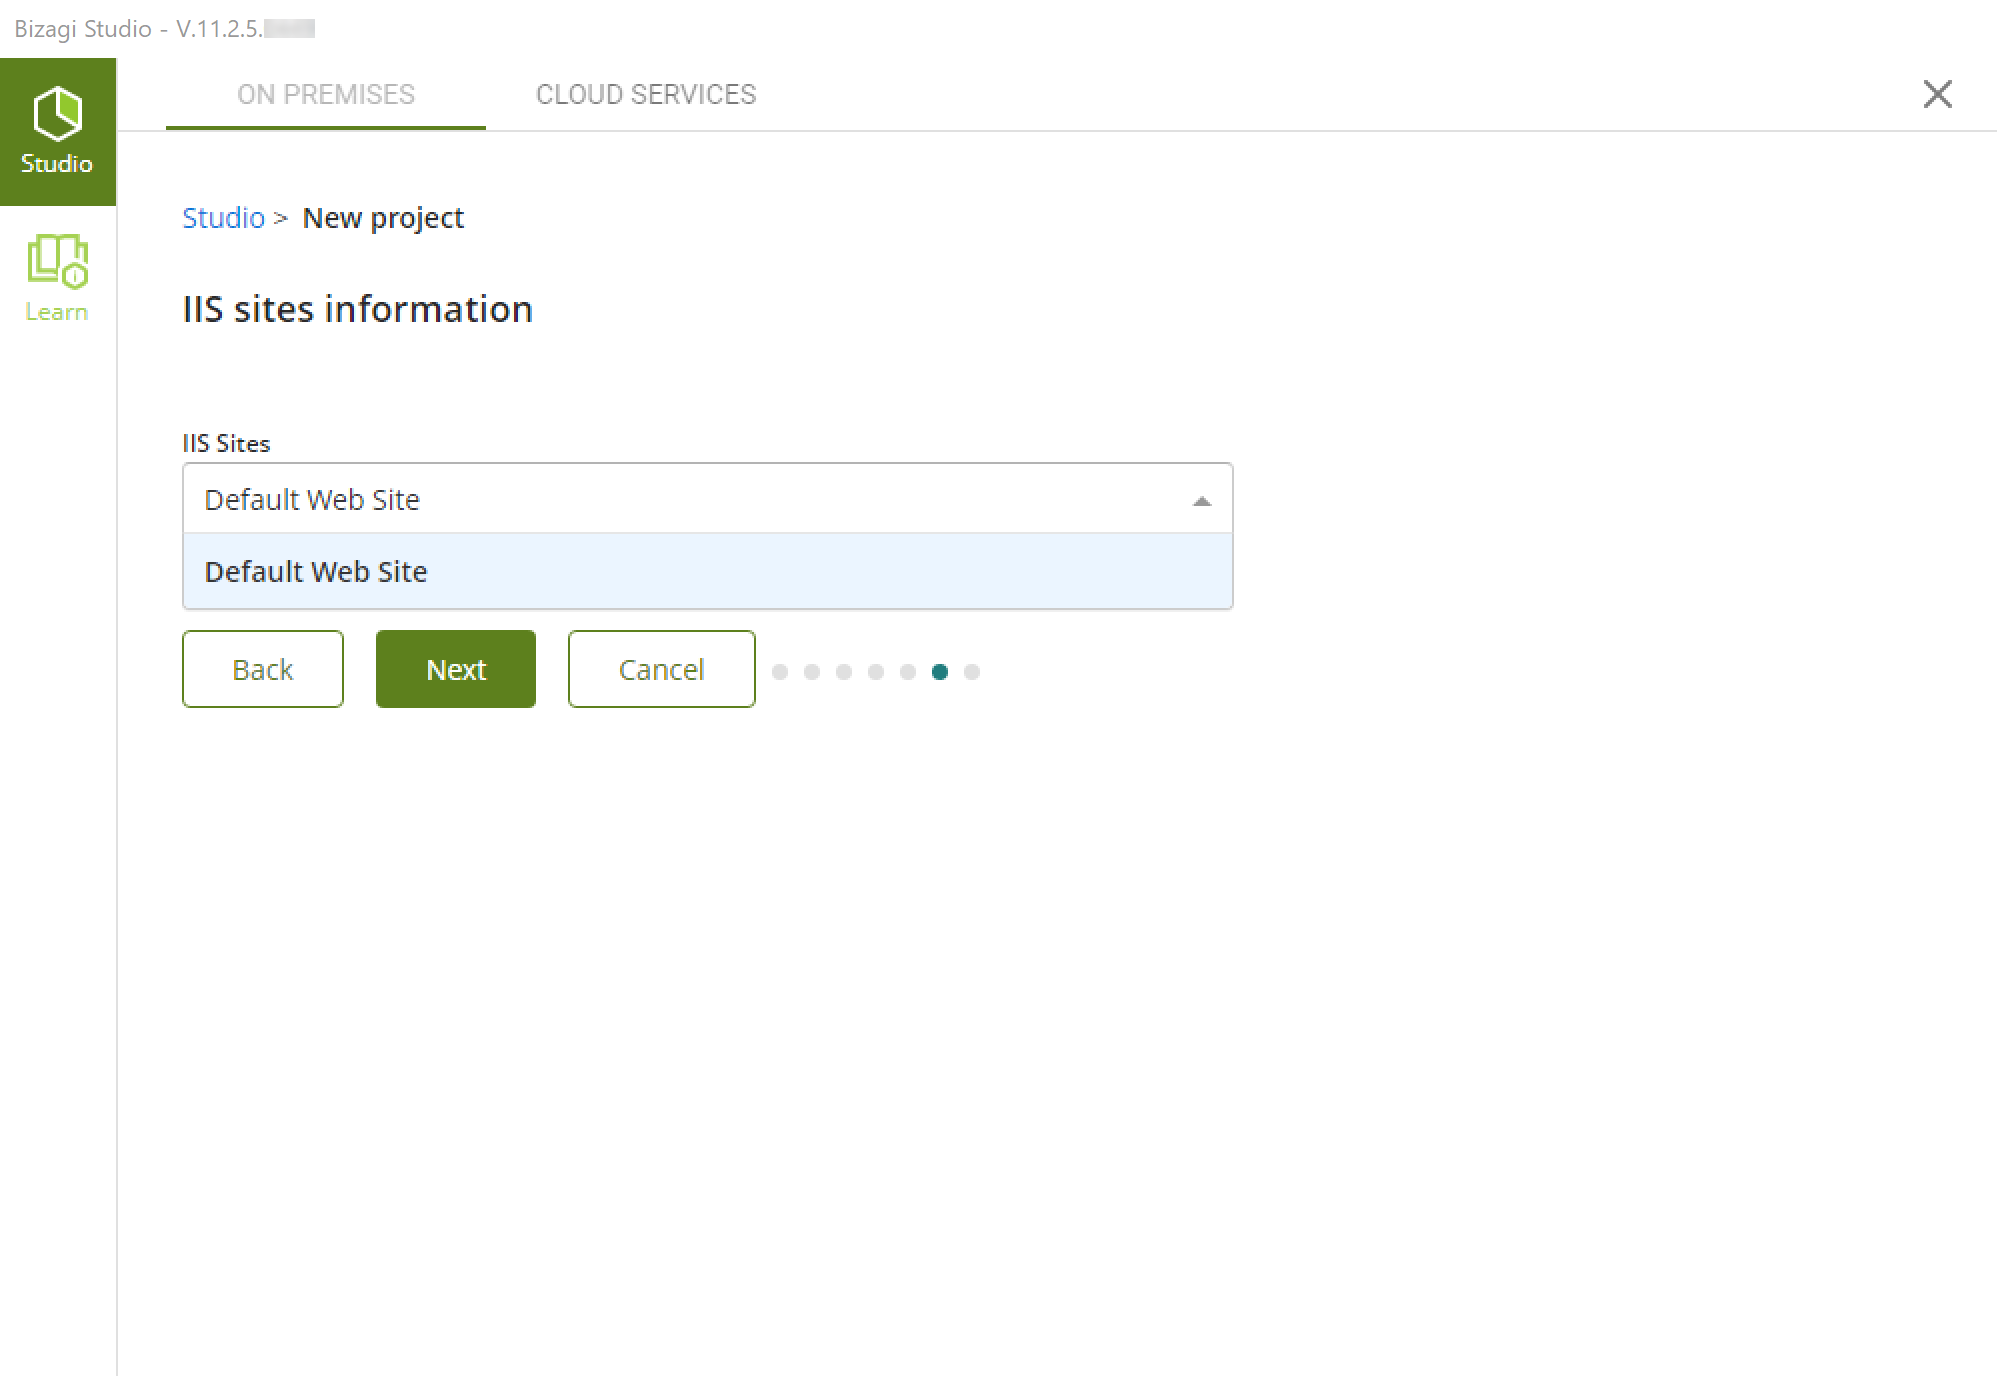
The sample image above, reflects the following IIS web sites configuration:

It is very important that before choosing an IIS web site, you double-check that the web site's configuration is adequate.
Adequate configuration implies that the IIS application pool set for this web site, is set to use (impersonate with) an account which has read and write access to that web site's base folder.
You may check this by first ensuring which IIS application pool is being used by the given IIS web site.
Do this by clicking on the IIS web site and then on its Advanced settings:
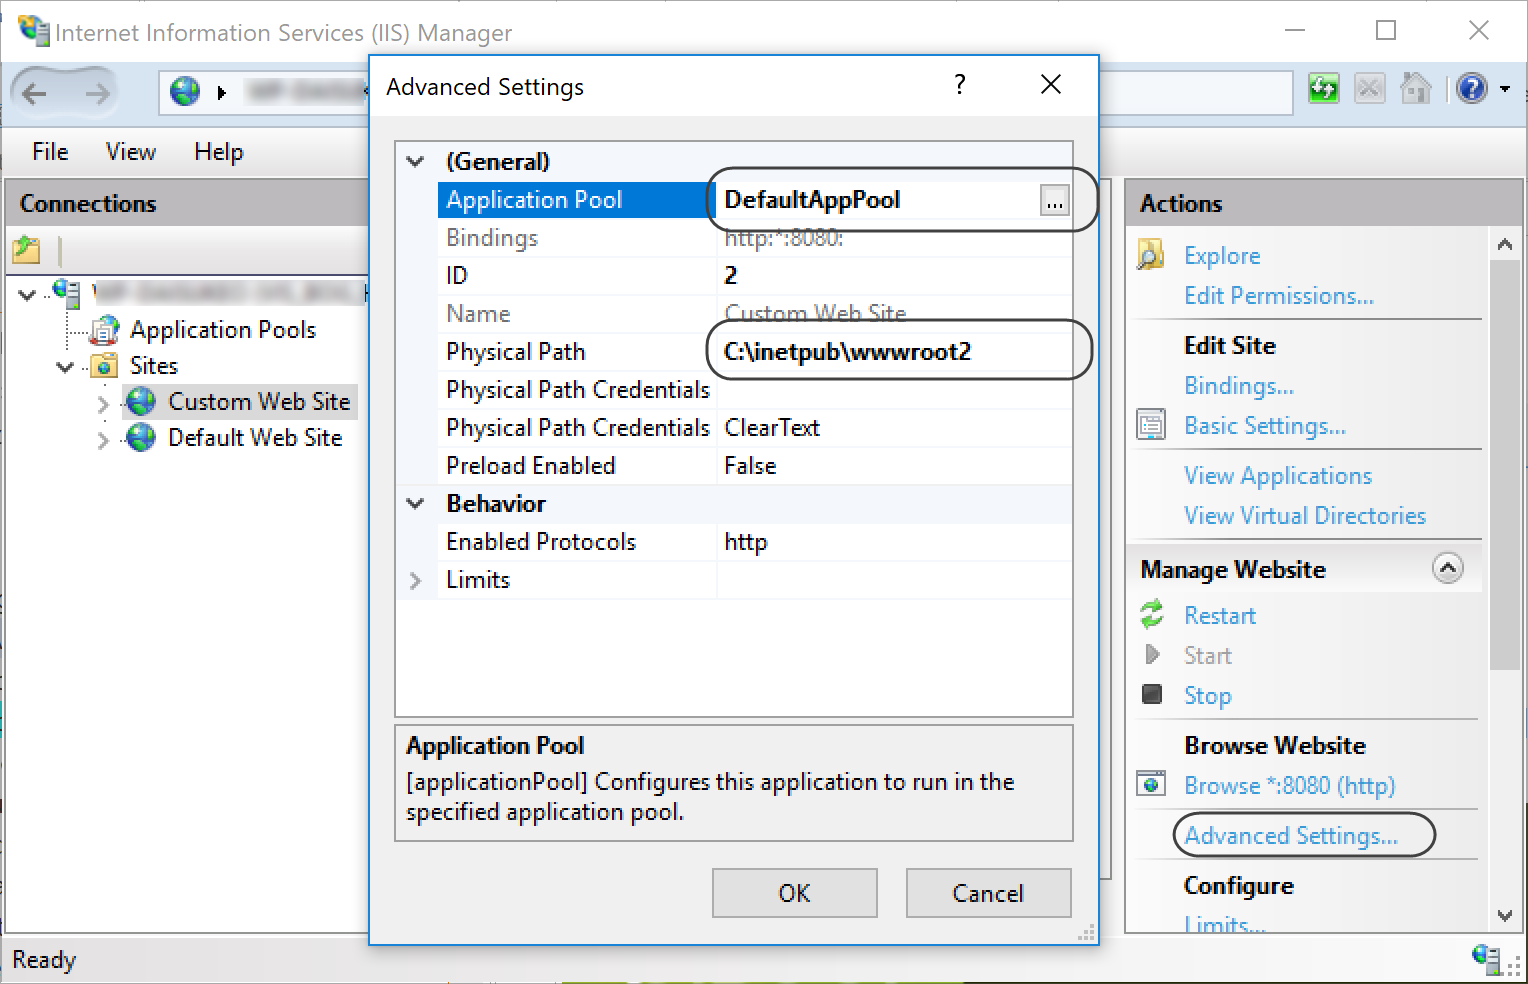
From the above image, notice that you gather the name of the Application pool (e.g., DefaultAppPool), as well as its base folder (e.g., C:\inetpub\wwwroot2).
Close the window and move unto the Application Pools view.
Click the one being used and on its Advanced settings:
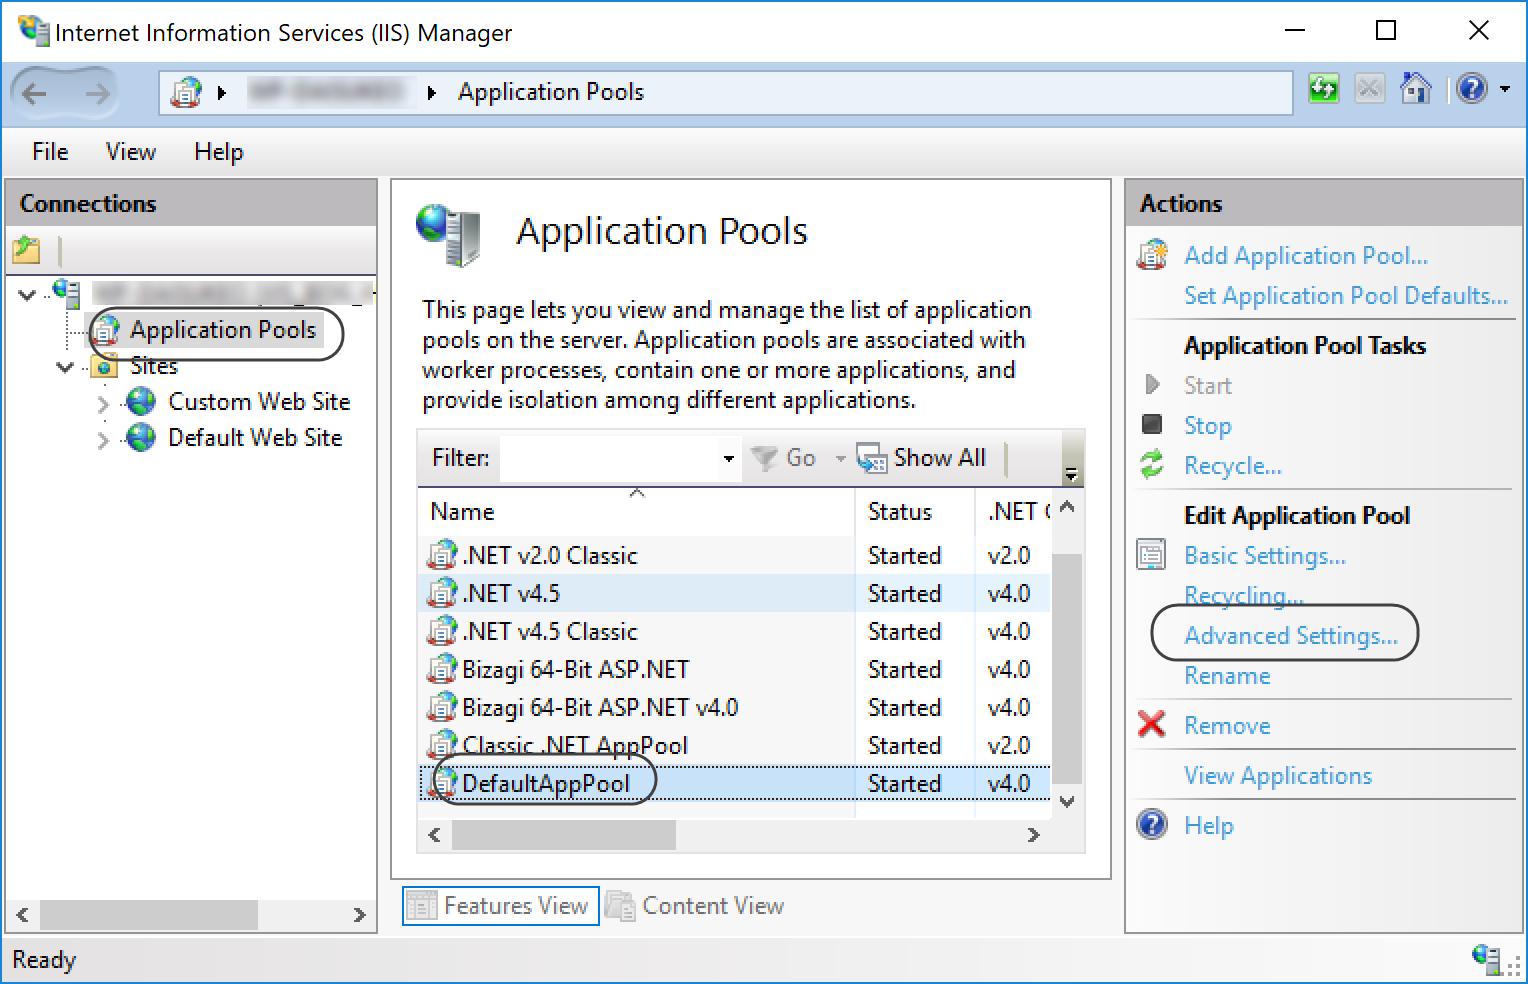
Scroll down to the Identity's configuration, where you may either confirm that the current account is the one you will be using, or modify that setting so that it uses a different account.

Click on the button next to it to change the account:
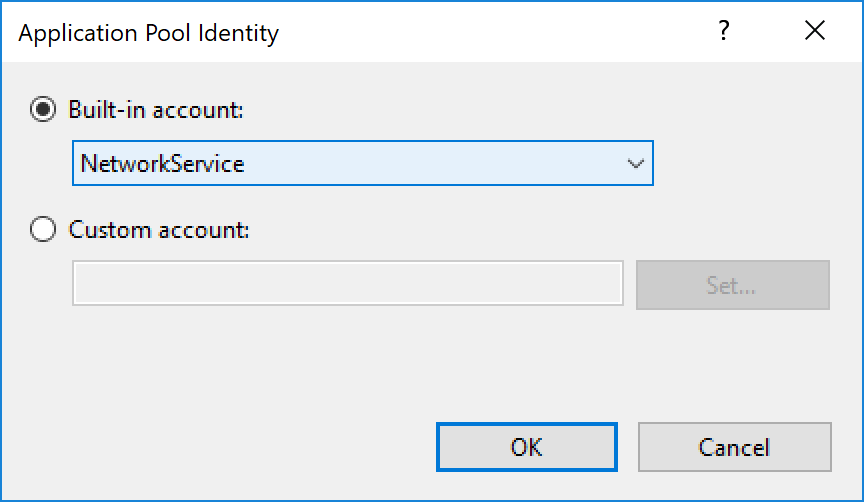
Click OK when done.
The important aspect, is that such account has read and write access to the web site's base folder:
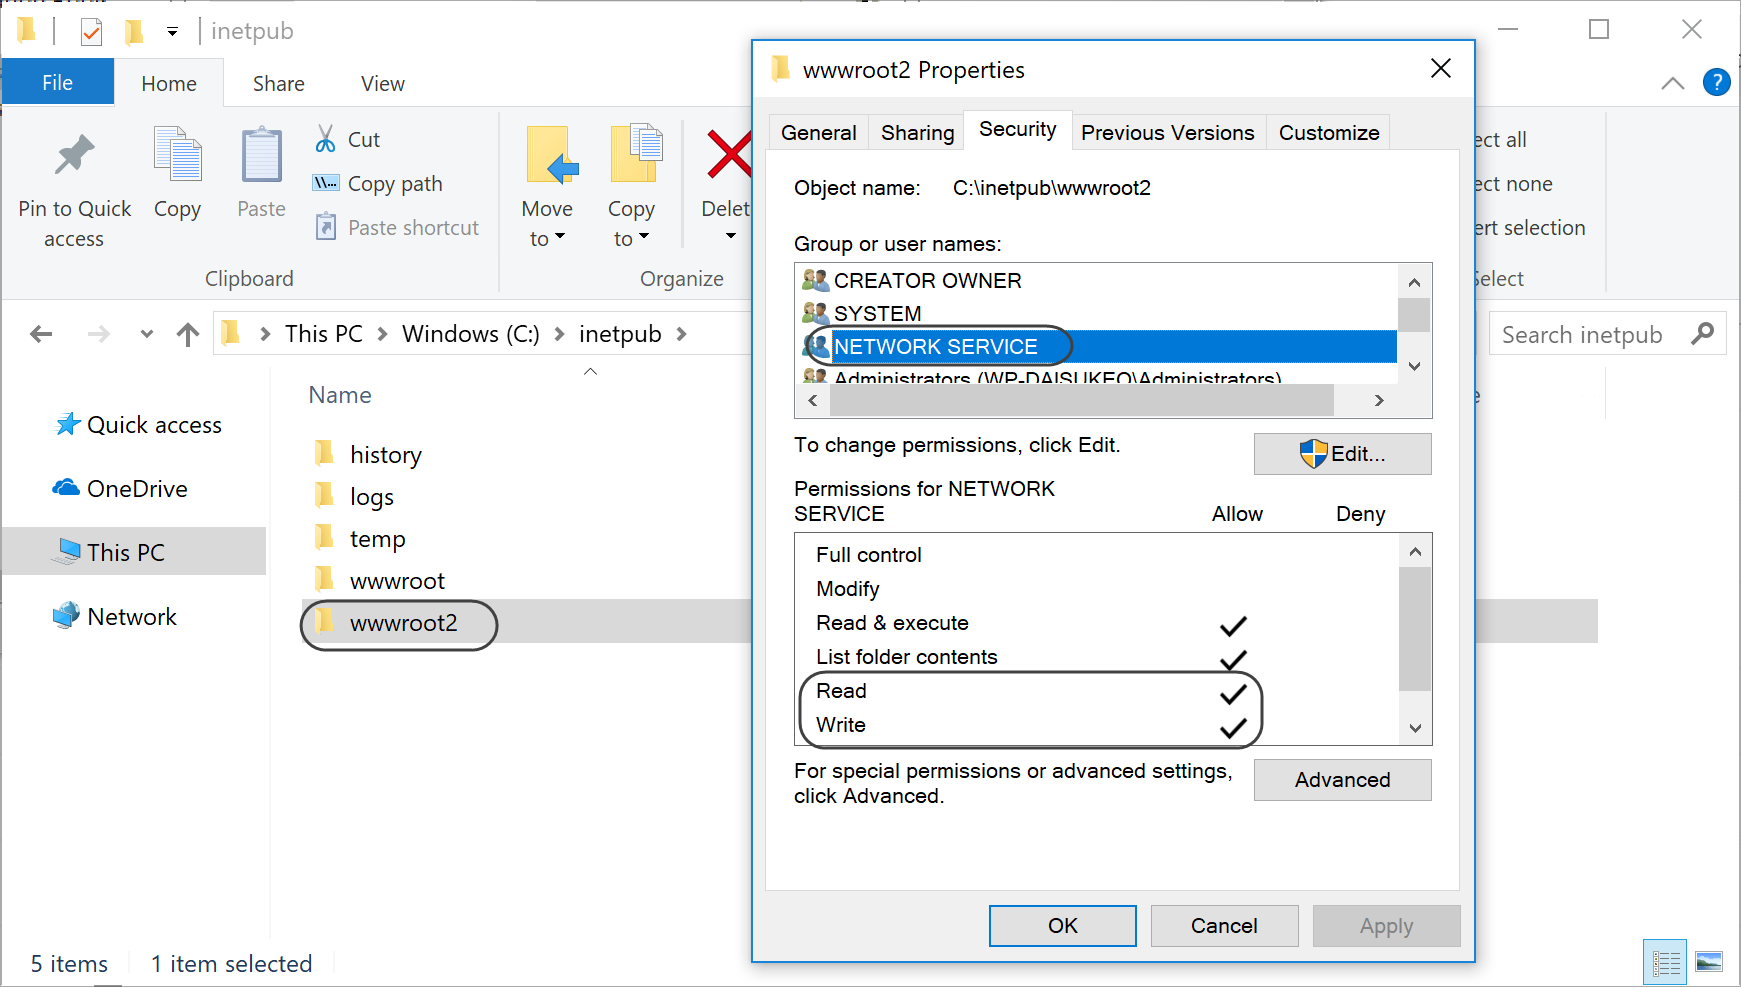
Click Next when done.
5. Launch the project creation
After clicking Next, Bizagi will launch the creation of the project.
This procedure may take up a few minutes.
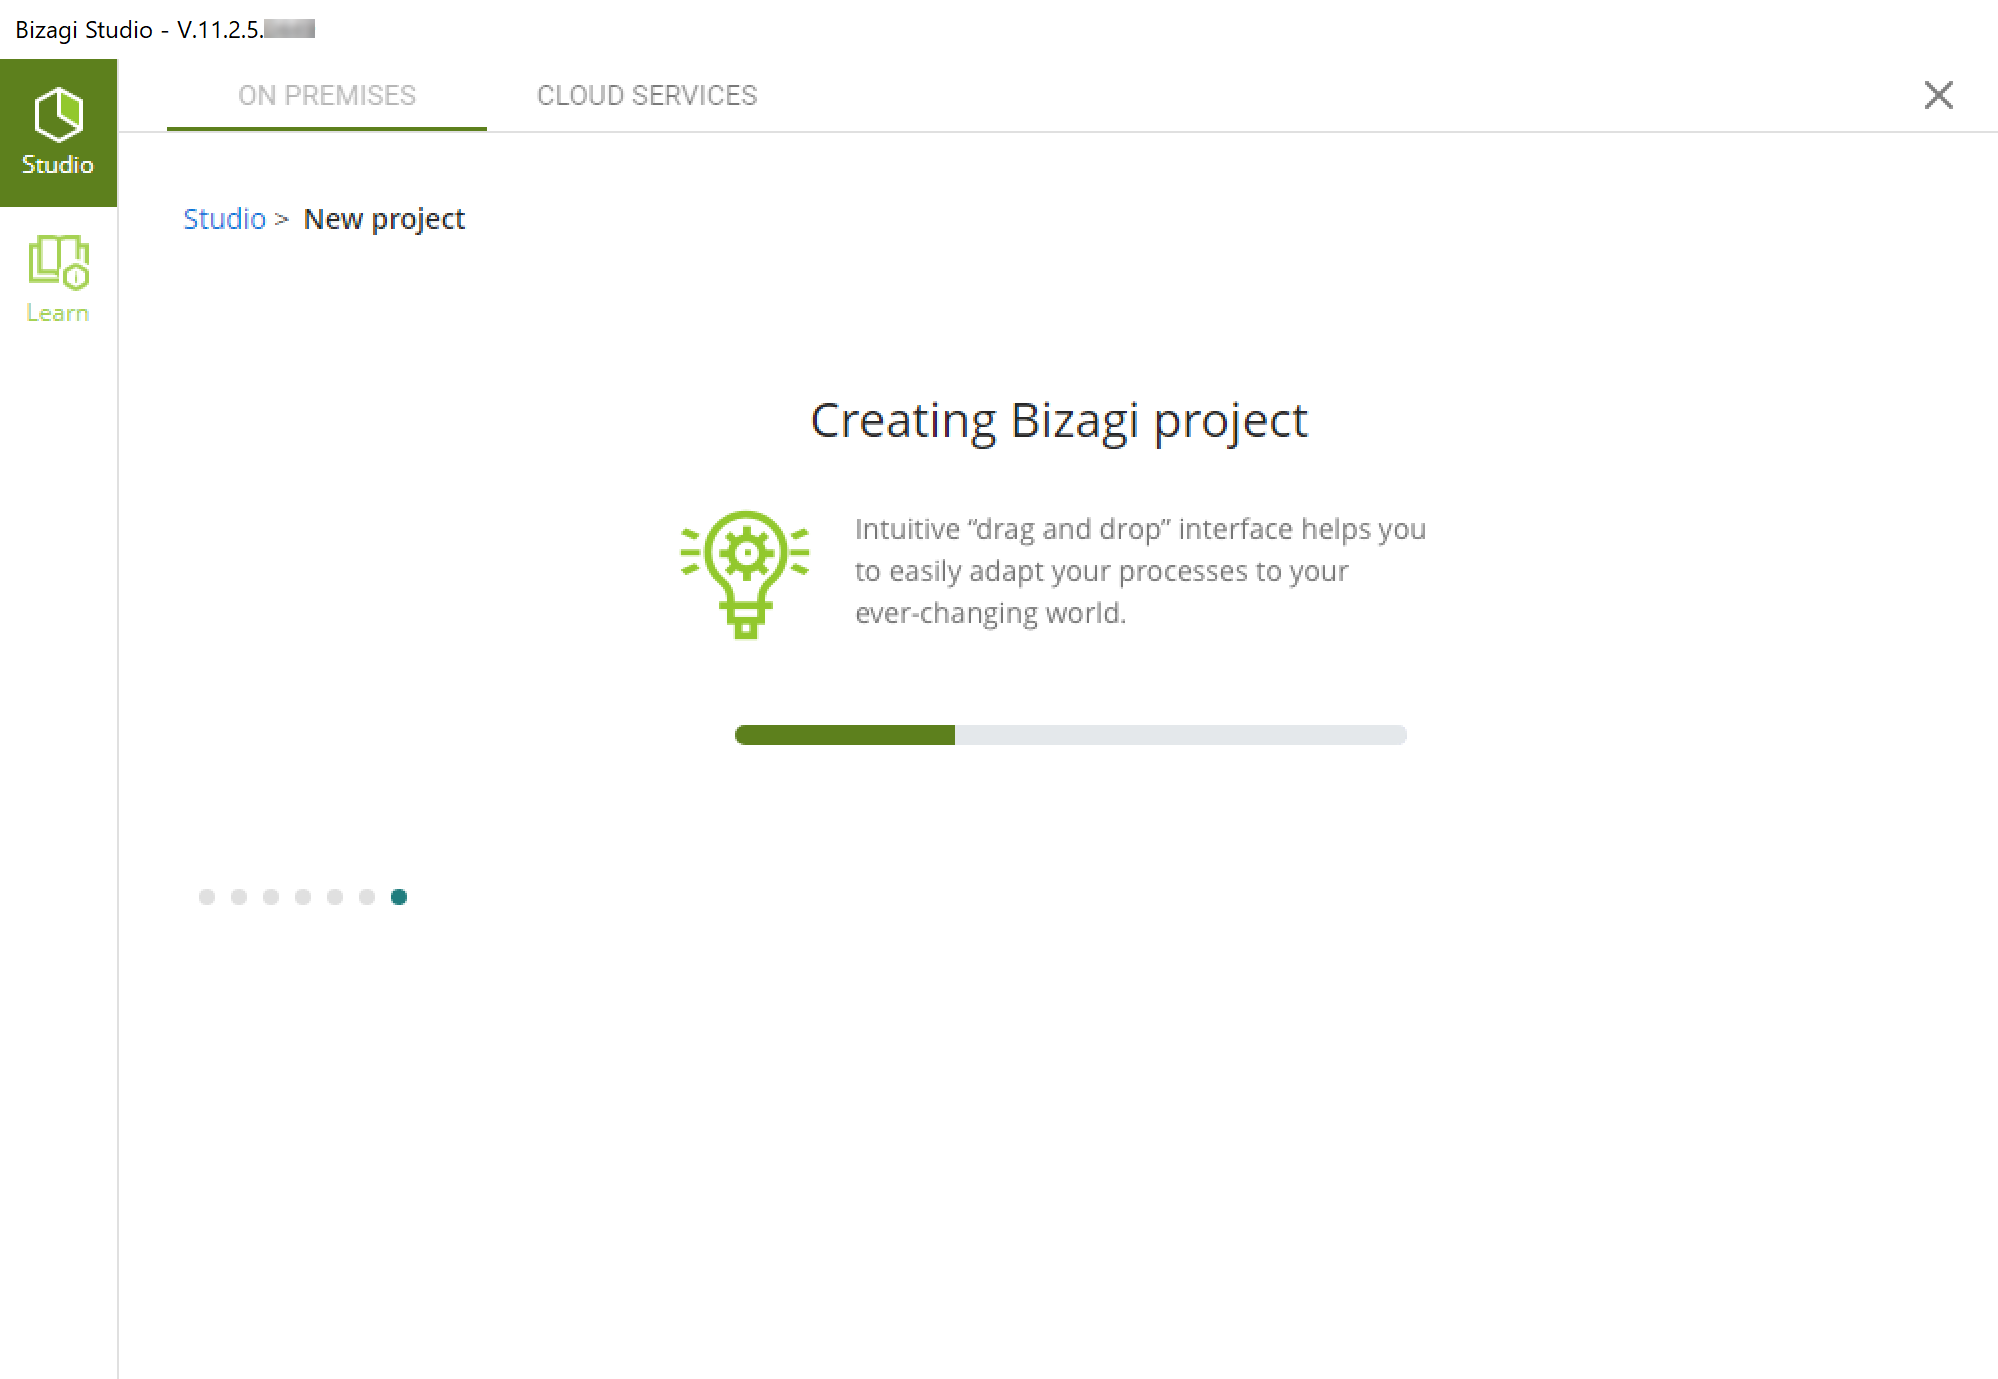
Once the project has been created, Bizagi Studio will automatically open it for you to get started automating your processes.
If you want to create a project that uses an Oracle database, refer to Create a project using Oracle.